


Fall Protection
Confined Space
Filter

LINQ
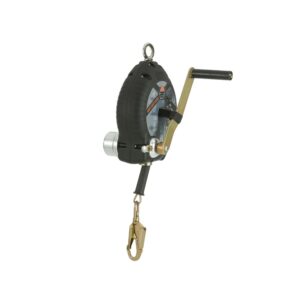
LINQ Self Retractable Lifeline 10mtr Type 3 LOQ-BLOQ with Retrieval Function
$1,910.22 (GST excl.)
$2,196.75 (GST incl.)
ZERO
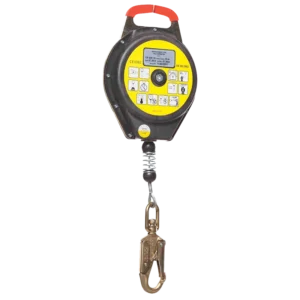
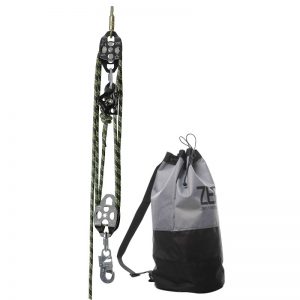
ZERO BlockMaxs Fall Arrest Retractable Self locking – 10M
$869.20 (GST excl.)
$999.58 (GST incl.)
ZERO
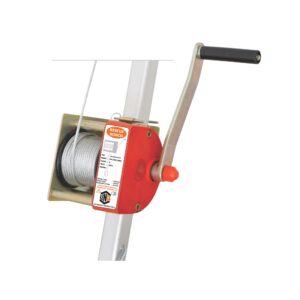
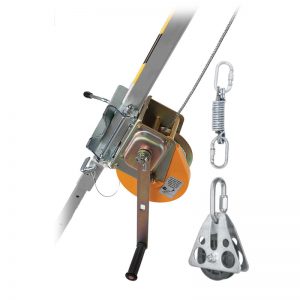
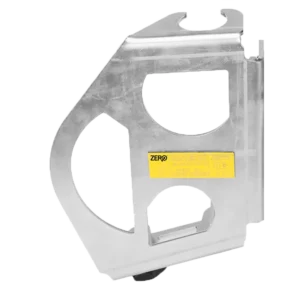
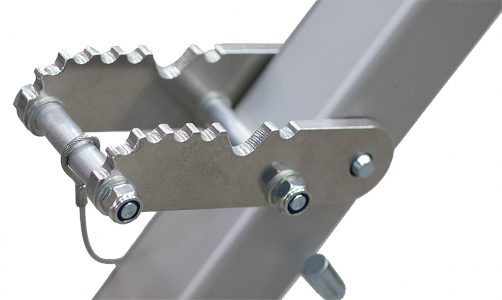
ZERO Mounting Bracket Zebra Winch for Descent Mate MB173DM
$249.54 (GST excl.)
$286.97 (GST incl.)
ZERO
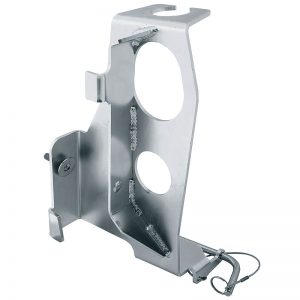
ZERO Mounting Bracket Descend Mate to BlockMaxR2 MB171DM
$249.54 (GST excl.)
$286.97 (GST incl.)
ZERO
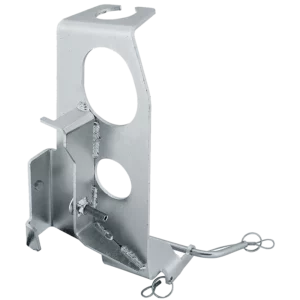
ZERO Mounting Bracket BlockMaxR2 to all other Tripods MB172
$249.54 (GST excl.)
$286.97 (GST incl.)
ZERO
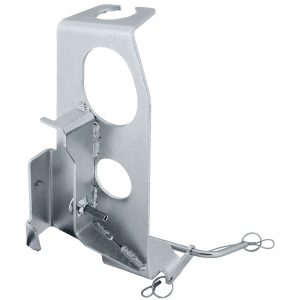
ZERO Mounting Bracket BlockMaxR1 to All Other Tripods MB174
$249.54 (GST excl.)
$286.97 (GST incl.)
ZERO
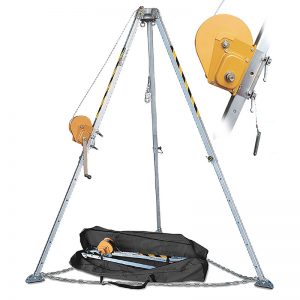
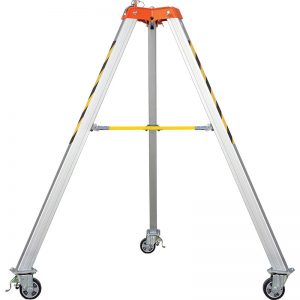
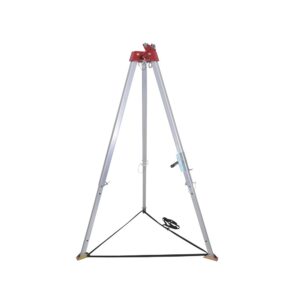
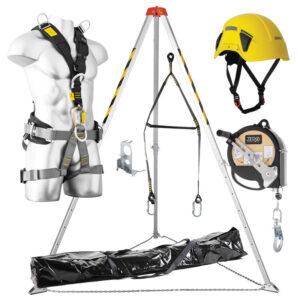
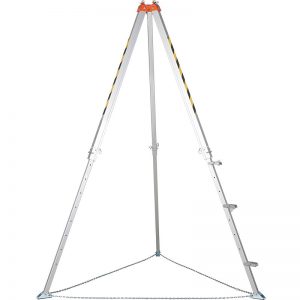
ZERO Descend Mate Aluminium Tripod with Chain and Bag TD00AX
$1,398.42 (GST excl.)
$1,608.18 (GST incl.)